
This is the Post 1 of the blog series. You can read the overview section here.
Creating a bot in Azure and registering to predefined channels is simple. Following are the steps:
- Navigate to Azure (https://portal.azure.com ) and log in
- Search for ‘Bot’ in the search bar on the top

- You will be prompted the ‘Bot services’ page. Select that option from the dropdown.
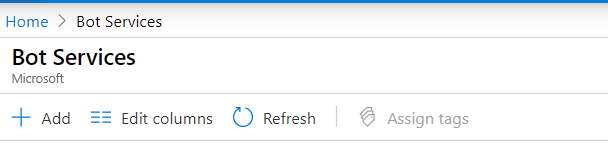
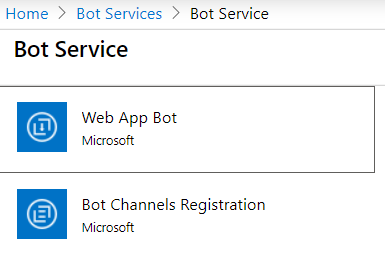
- Click ‘Add’ and choose ‘Web App Bot’.
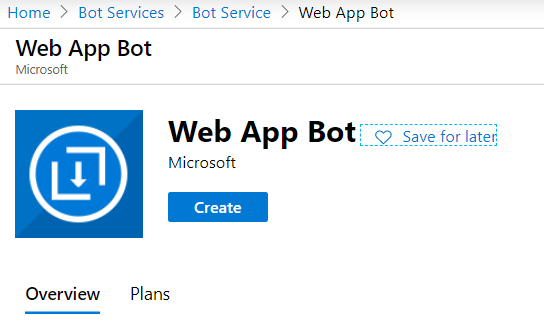
- In the next page click ‘Create’ button which will open up the ‘Web App Bot’ form.
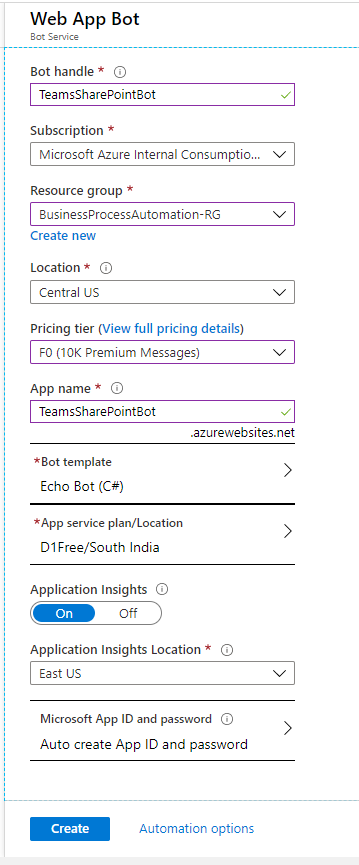
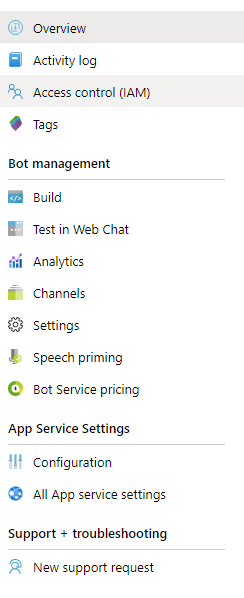
- Fill in the details and click on Create. This will create the bot in Azure. While you are on it you can also select ‘Channels’ from the left pane and choose ‘Microsoft Teams’ from the given list of channel
- Complete the formality there and you are done.
With this, you have your bot created which is registered to be used in Microsoft Teams. It’s the basic building block and the base for you to build upon.

Amazing! Its really amazing article, I have got much clear idea
regarding from this post.